 So-the other thing I was doing this fall was to create two wedding gowns. Each not very elaborate or “show-y” or of the “CakeTop” variety -as per request of each individual bride. For one bride I have a lot to record here for your viewing pleasure and for my sewing memory of what I did. I will call her Bride “A” since her name (Andrea) begins with ‘A’. The other bride? Not so much to show- as that particular bride was a little more camera shy, and has also not sent me any pictures of her IN the dress on her wedding day as yet . I will call her bride “B”.
Ok- so we all already know I am not Susan Khalje when it comes to wedding dresses and sewing. But with the short time lines I had for each bride, I put in what I felt was my best for each – hoping to make them each feel beautiful on their wedding day. Basically what I did was create corsets for each bride and then build whatever style they liked on top of the under corset. I did that so each bride did not have to hunt and search the world for undergarments that would work with their chosen dress designs. Having the proper undergarments is usually half the battle with making ANY dress or garment look good on you. For Bride “B” the corset was sewn in and incorporated into the dress itself. Although I know she wore much MORE than that, I made it possible so that all that Bride “B”really needed to wear with her dress was a clean “birthday suit”. Gonna start backwards and show Bride B first.
Bride “B” wanted an organic cotton, strapless, sweetheart neckline, A-line, lined in silk and cotton, floor length dress, with a 4 foot long (church length) train. That sentence was a mouthful, but the dress got done!! We put a crinoline under the skirt for a gentle “poof” underneath. Bride and her mom picked out the lace for the bustier part of the dress. I thought it was a beautiful lace choice. I made the dress, laid and positioned the lace to the bustier part, and because of time constraints, I got a bit of help from the bride’s mom with the hand sewing of the lace to the outer shell of the dress. It seemed a successful outcome to me. Can’t wait to see pics of the bride in the dress. If I can, I will document those pics to the blog in the future.


Moving on to Bride “A”. More pictures to show. This gal wanted something simple but wanted to be a little more refreshingly creative and not have an all white or all cream colored dress. After creating the corset of all cotton (for wearing breathability), I then created the wedding gown from off white silk duchess and silk chiffon. The bride had the idea of incorporating a beautiful turquoise Ombre print chiffon panel into the dress. I pleated the panel in order to concentrate the various levels of color and to enhance the ombre effect. The panel was inserted into the empire seams on the left side of the dress and created a “waterfall” of increased color saturation down that side. Again- I liked the creative idea and use of color in a wedding gown.
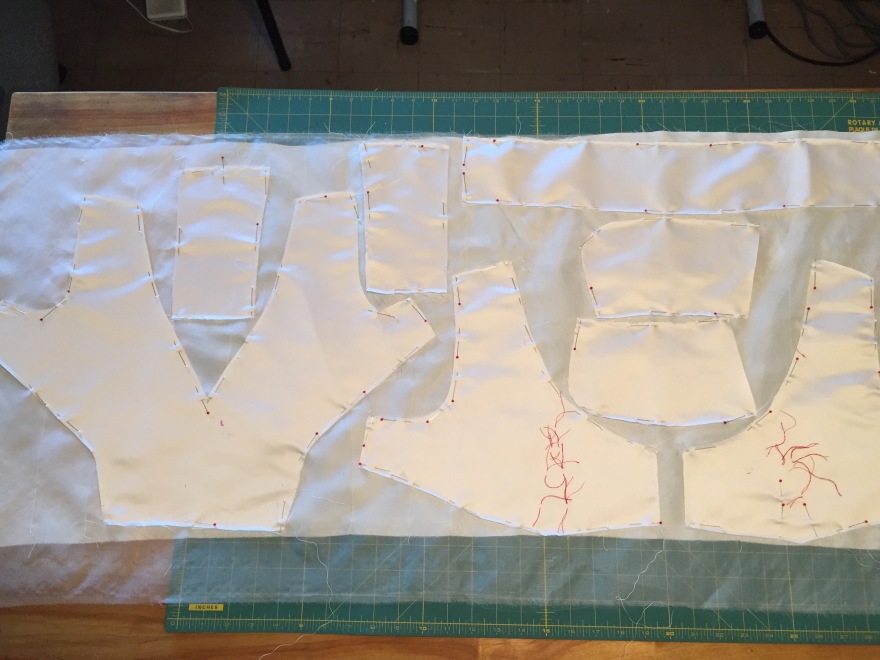
Bride “A” and I came up with the design for her gown just from brainstorming together. And YES sewing fans- and those of you savvy enough to tell by looking at my muslins- I had a busy fall schedule. I did “quick and dirty” draping of this gown pattern right on the LIVE bride “mannequin”- using TOTALLY unorthodox draping techniques. I will probably be kicked out of the F.I.T. Alumni club. Oh well… All I can say is that the wedding gown got done ON TIME , on budget, it fit her, and the bride was comfortable in the gown and HAPPY on her wedding day !! Same goes for Bride “B”.
What more could a dressmaker ask for?
My THANK YOU goes to GOTHAM QUILTS in NYC for being a great place to be inspired by color…..


Your fitting skills are absolutely amazing. Perfect fit – bravo!
Thanks Tomasa. Coming from someone who I know is as skilled as you are, I appreciate the encouragement and the complement. Be well. TC